So now I'm gonna share you all the basic things you need to do in order to have your library "linked" to your project.
Download Eclipse IDE
First, download Eclipse IDE I prefer Helios version as I'm already get used to it since back when I was just learning in my college.
Fire it up
After you finished downloading Eclipse, you need to fire it up, there's no installation needed!
Note: First, you have to choose the working directory for your projects. Just click OK.

Create a Project
Now that you have your Eclipse up and running, you will be needing to create your own project in it.
To create, just click File > New > Java Project.
Project Name: Use a suitable name for the project name.
The rest, leave everything as is.
Then click Finish.
You will see your project on the project explorer:

Adding External Library
Now that you have your Java project, we need to add our library downloaded from the internet.
A very good example is Google Guava. You have to download it first before adding it to your classpath.
Now right click on your project then choose Properties. Click Java Build Path, on the tab click Libraries, finally click the button Add External Jars.. and locate the library you just downloaded. See the below picture:
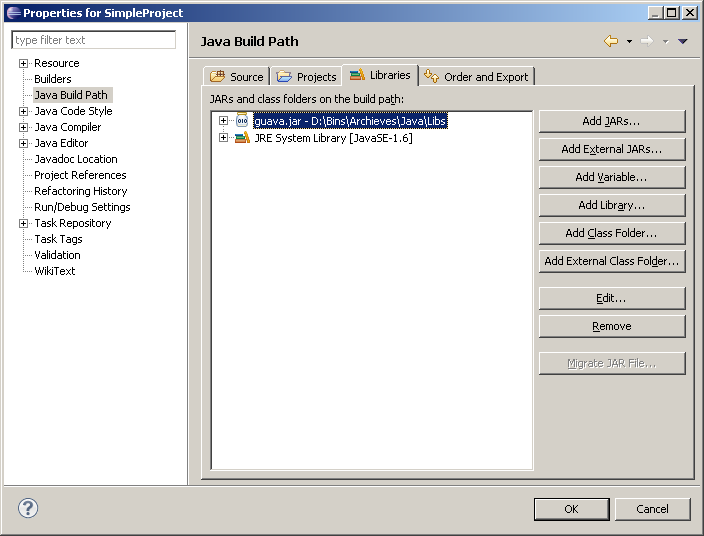
Finally, click on OK. Voila! You can now use the libraries classes all you want to your project.
Thank you for reading my post! :)
No comments:
Post a Comment